Yoga Twisting Revelations: Normalize Changing Your Opinion

7 Comments

Yoga Twisting Revelations: Normalize Changing Your Opinion

f523ac1bdc60172b7609dcecd36d38dd.jpg

I loved this meme when it made the rounds in 2020.  

We live in a culture where leaders often cannot admit when they were wrong, won’t apologize for missteps, and need to appear tough all the time.

Especially the last 4 years.

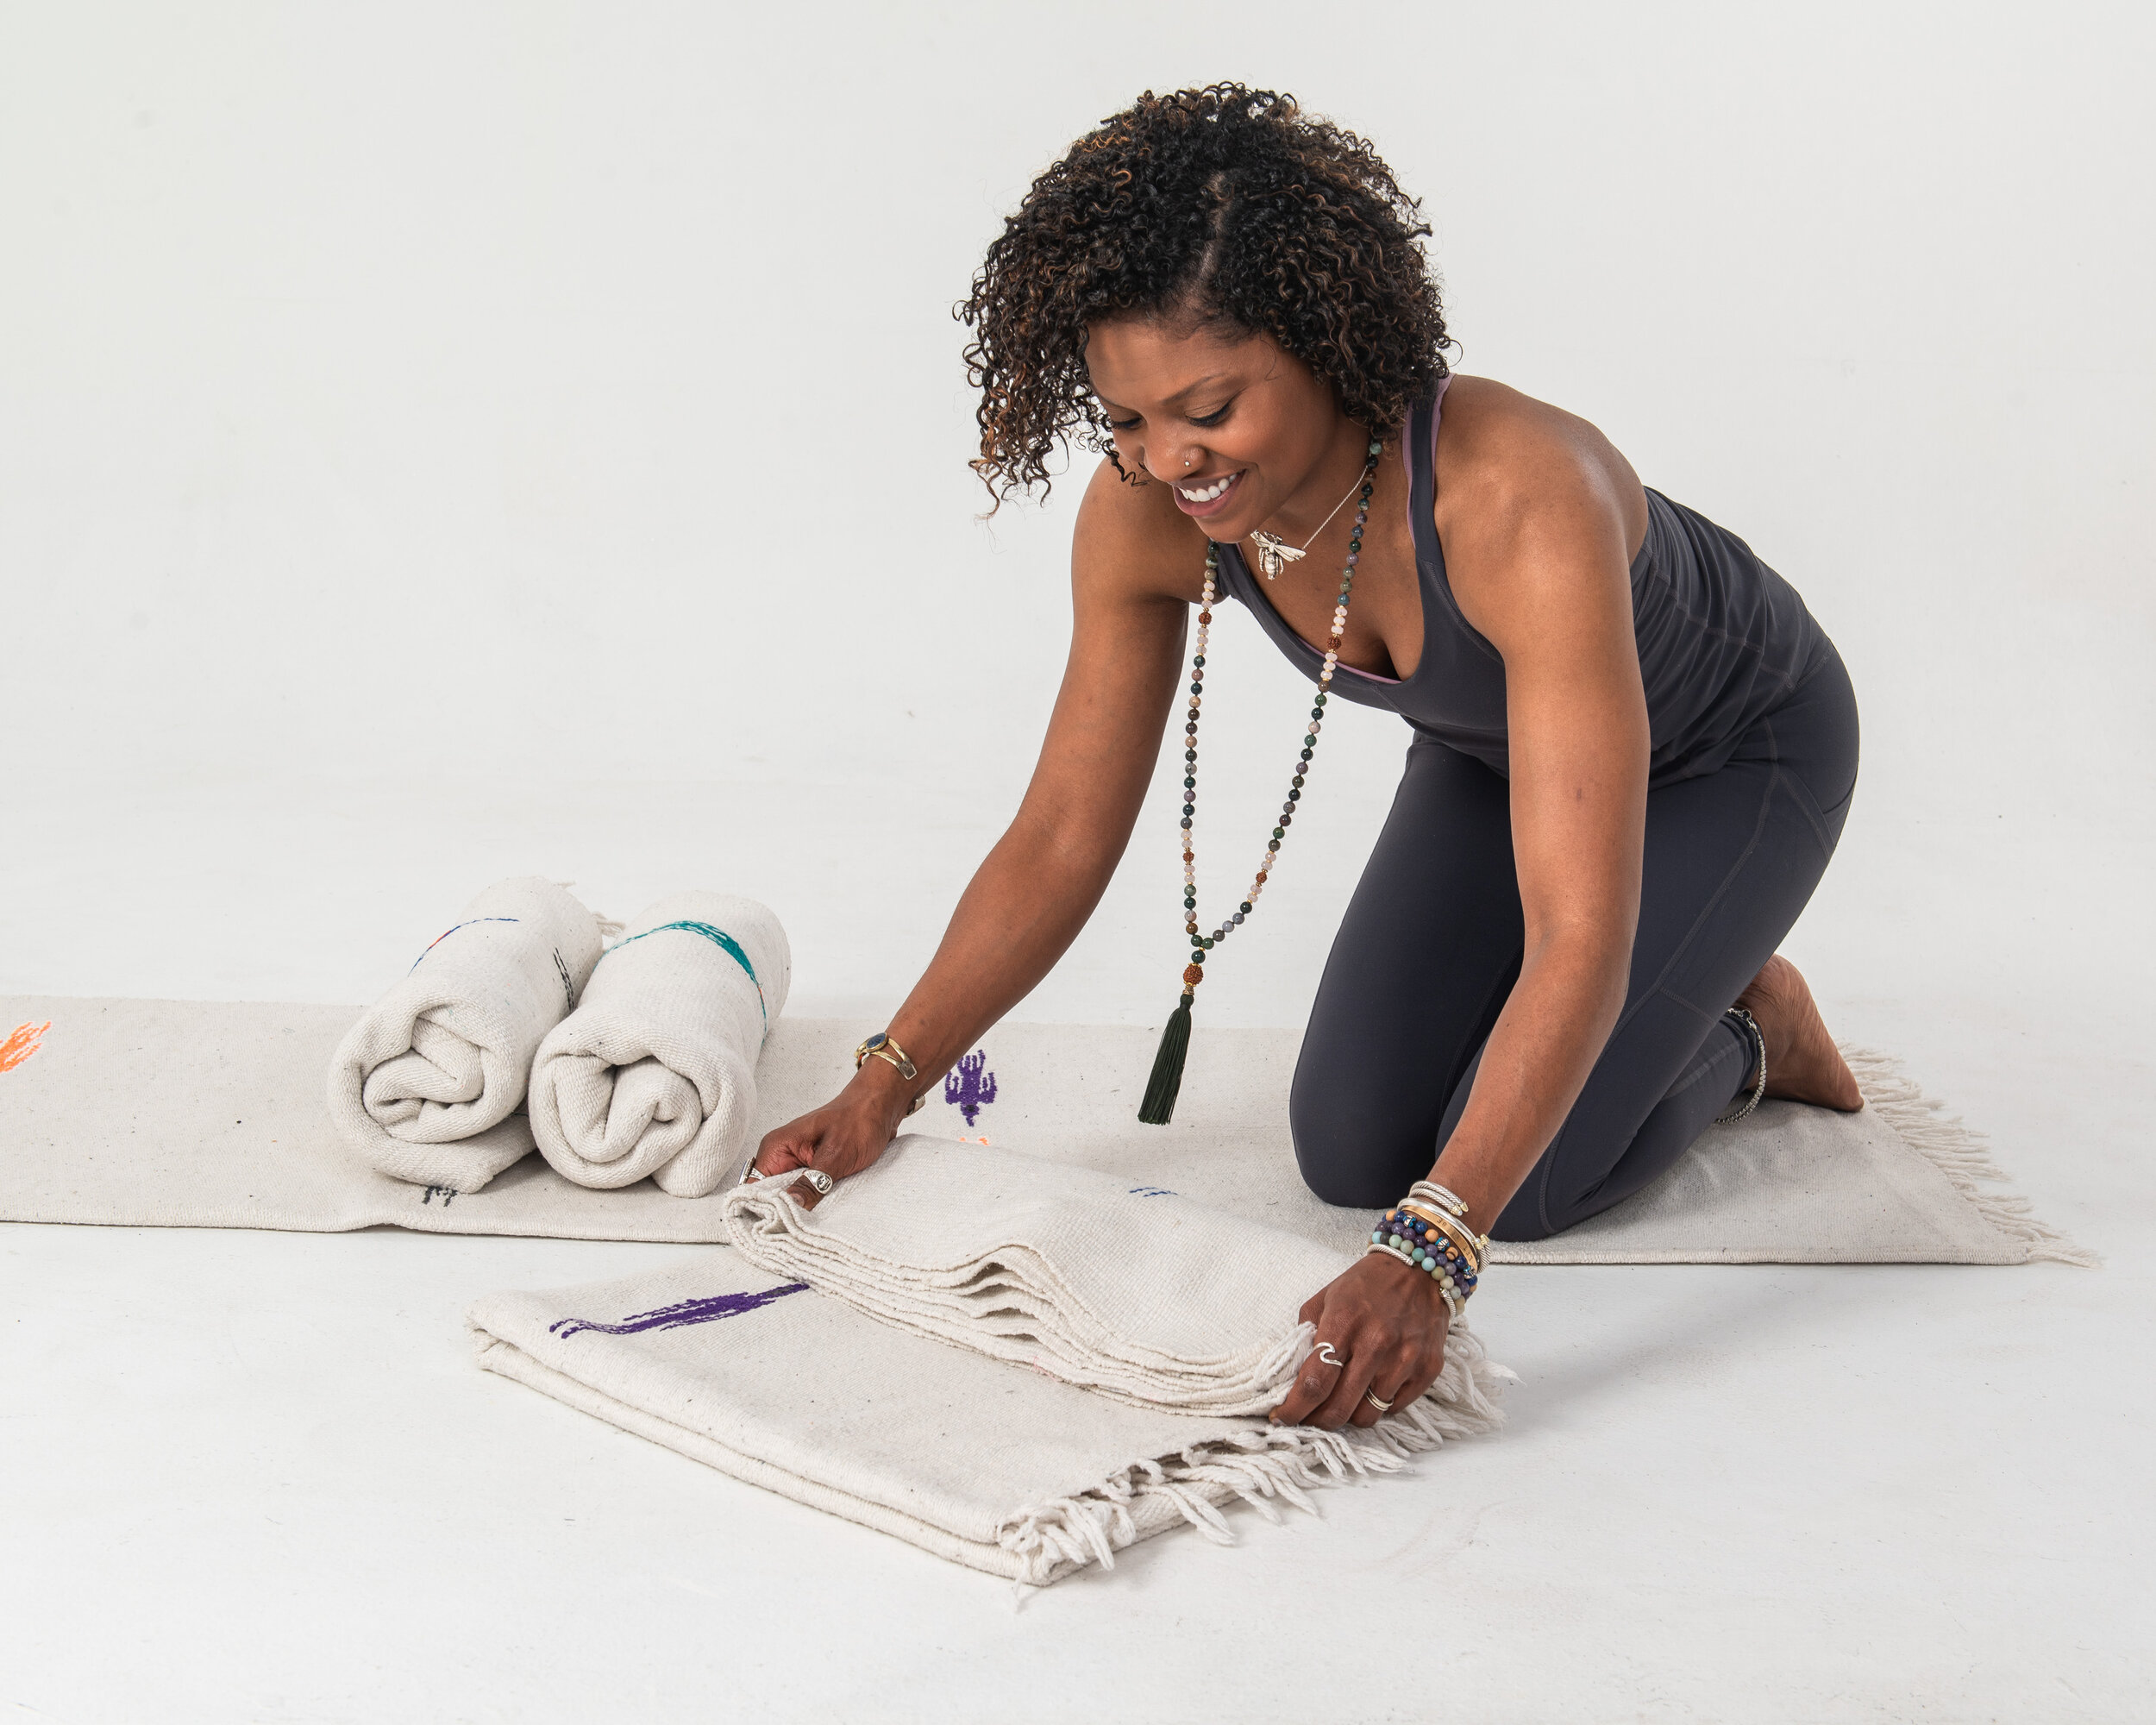
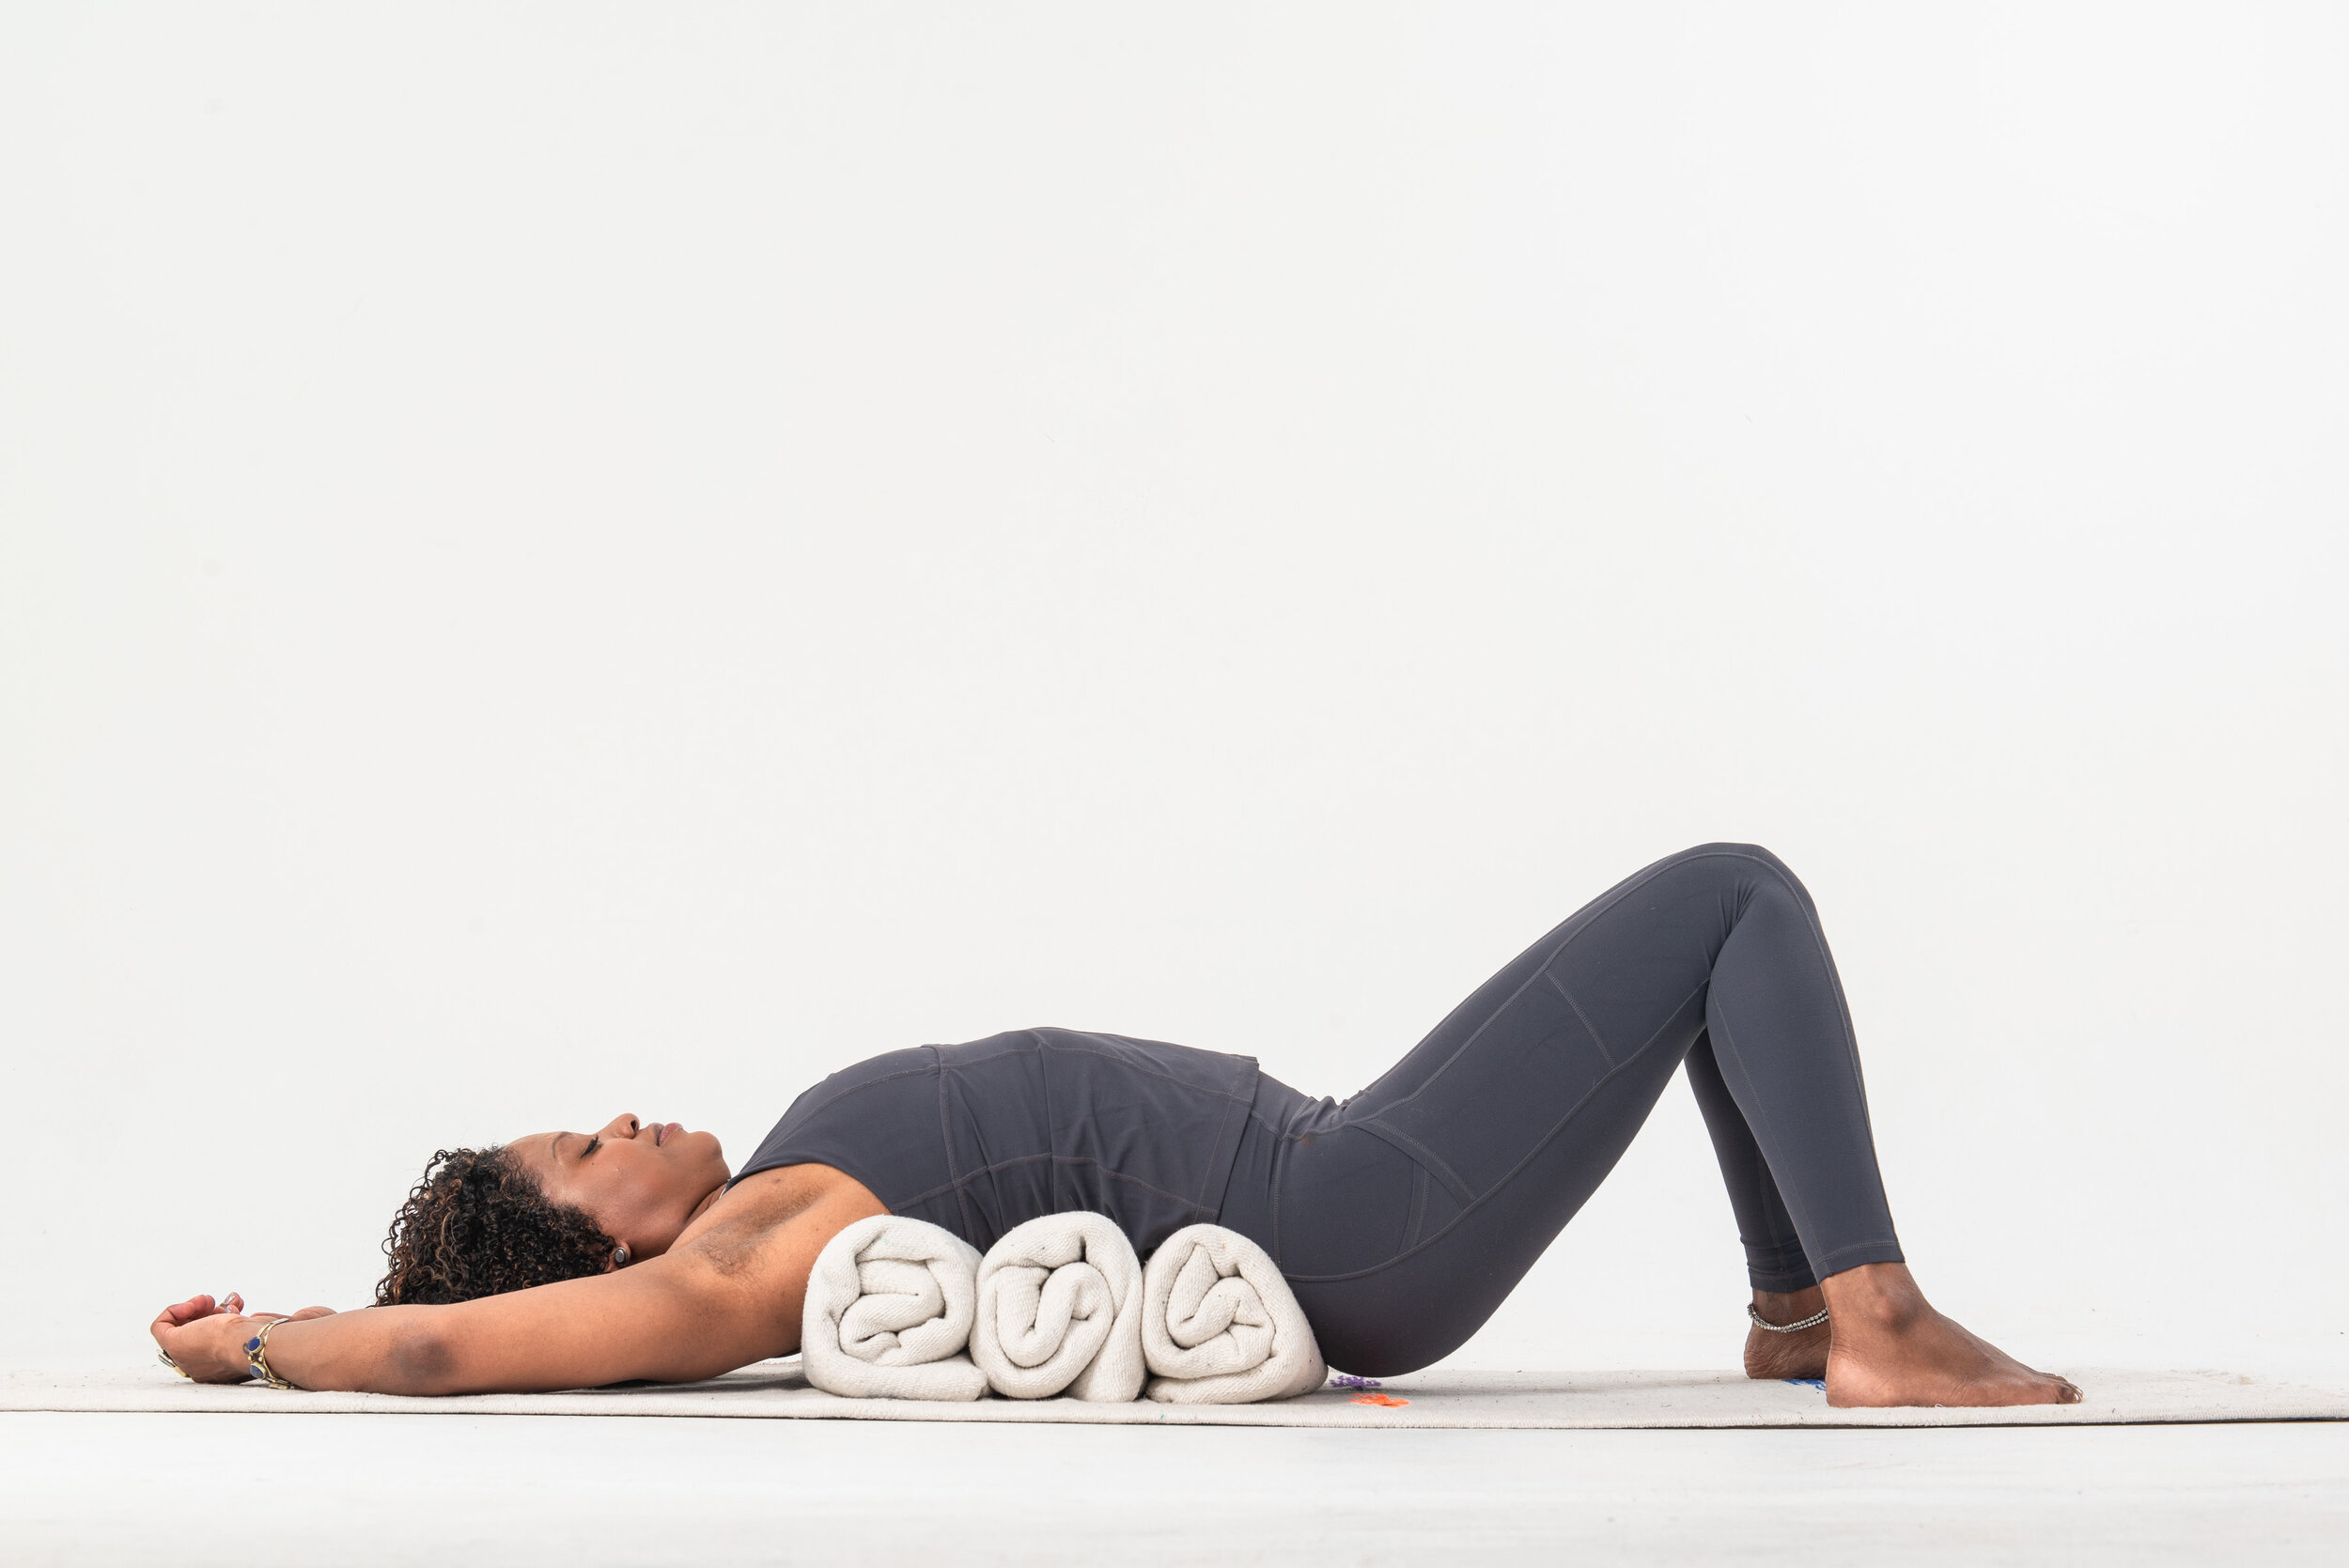
If you teach yoga, you know firsthand how common it is to change your mind about how you’ve been practicing or teaching alignment!

This could happen while you’re on your mat and you have an epiphany. 

Or more likely after you’ve read an anatomy book or taken a training with an experienced teacher.

In the spirit of changing minds, I want to share a revelation I had after reading Judith Lasater’s new book, Yoga Myths and practicing with her online.

For as long as I can remember, I was taught (and have practiced twists) by anchoring and stabilizing my pelvis, and then twisting my spine in the opposite direction.

I wasn’t brutal about it - I definitely let my sacrum and pelvis move a little into the twist - but I was taught that to really “ring out” and juice up my organs and spine, that I’d get more mileage if I resisted the ilium forward on the side toward which I was twisting, and then used my hand to help create a more powerful twist.

Maybe you learned it this way too?

As an example, try sitting in Easy Sitting Pose (sukhasana) with your right hand behind you and your left hand on your right knee, twisting to your right....Up until a few months ago, I would have told you to initiate the twist from your lower back waistline on the left and then to organically extend your right ilium (and femur) forward in opposition to your trunk turning to the right.

Try that out right now and see how it feels.
Is it kind of torque-y in your sacrum and low back?

Now do it again, but instead of pushing your right ilium forward and using your right fingertips to crank you into the twist against your right ilium’s forward movement, make the initiating anchor in this twist your left ilium and leg. Allow your left hip to lead the way into the twist while moving your pubic bone down. Then turn your organs to the right. Notice how you barely have to try and twist when you move from the left!

When I tried it this way, I immediately felt a freedom in my sacrum and lower back + an opening in my breath, because now my sacrum was not being pulled into the twist and separating my ilium from the sacroiliac joint.

Anatomically, when you twist this way, the acetabulum/pelvis is able to move over the femur head and the vertebral column receives the twist, vs. “creating” the twist yourself and using your arm on the floor “as a weapon against an anchored pelvis” (as Judith phrased it).

“Think of the pelvis as the first vertebra,” she says.

You probably want to try it on your left side.  Go’head!

How was that? Leave me a comment!

7 Comments

Warrior One Podcast w/ Amy Ippoliti

1 Comment

Warrior One Podcast w/ Amy Ippoliti

Pre-pandemic, I had the pleasure of sitting down with yoga teacher, 90 Monkeys student, photographer, podcaster, and all-around awesome human, Derek (Pashupa) Goodwin for his new podcast, Warrior One.

I've been on my fair share of podcasts over the years, but I gotta tell ya, after listening to Derek's brilliantly cut, humor-filled editing I was nearly on the floor!

In this episode we chat about:

  1. Our last in-person training in March 2020 on the Upanishads and the teaching, "the present is the future revealing the past"

  2. My first real teacher, a summer camp counselor who pushed me toward excellence in canoeing and mountaineering

  3. My early days learning yoga as a teenager and young adult

  4. How I met Krishna Das and started chanting, recording, and traveling with him

  5. Why I left New York City for Colorado

  6. My connection and journey with Taro Smith in marine conservation, life, yoga, and business

  7. How I got started serving yoga teachers in business to thrive and flourish

  8. The story behind our book, The Art and Business of Teaching Yoga

  9. The tricky relationship between yoga and money

  10. A new way to look at "branding" as yoga teachers

  11. How to teach authentically vs. disingenuously

  12. My thoughts on the climate crisis & yoga as engagement in the world vs. head in the sand and hyper individualism

1 Comment

From the Kitchen: Gut Friendly Broccoli Tots

2 Comments

From the Kitchen: Gut Friendly Broccoli Tots

This is one of my favorite, gut-friendly power snacks to have on tap when I've got a busy week ahead and need solid, high fiber, green veggie snacks available to get me through the day.

They're delicious, fun, and great dipped in aioli sauce, served as an appetizer.

IMG_4084.JPG

Tools:

  • Baking sheet

  • Food processor with an S blade. You can also use a high powered blender like a Vitamix, but you might need to do it in batches.

Ingredients:

  • 2 cups steamed broccoli florets

  • 1 pastured-raised egg or vegan egg substitute

  • 1/4 yellow onion, chopped

  • 1 small clove garlic, chopped

  • 1/2 cup cassava flour

  • 1/4 cup blanched almond flour

  • 1/4 teaspoon black pepper

  • 1 teaspoon sea salt

  • 1 tablespoon minced parsley (optional)

  • 1/4-1/2 cup grated Parmigiano Reggiano or 1/4 cup nutritional yeast

  • Avocado or olive oil for sautéing

IMG_4089.JPG

Directions:

  1. Preheat the oven to 385 degrees Fahrenheit. Grease a baking sheet with a thin layer of avocado or olive oil, or use a silicone mat un-greased.

  2. Sauté the onion and garlic in oil until translucent.

  3. Add the onion garlic mixture to the food processor and then throw in the broccoli, egg, cassava flour, almond flour, pepper, salt, and parsley and pulse until well combined.

  4. Scoop a heaping tablespoon of the mix and press with your fingers into tater-tot shapes. You might need to wash your hands to cut down on sticking. Place tots on your baking sheet, spaced evenly.

  5. Bake for a total of 18-20 minutes, setting a timer at about 9 minutes to flip them over half way through. They should be golden brown. Serve dipped in aioli or hot sauce.

FullSizeRender.jpg

2 Comments

Quarantine Hacks for a Pandemic that Won't Quit

Comment

Quarantine Hacks for a Pandemic that Won't Quit

Well… here we are six months into quarantine and distancing, something none of us could have expected. For now, there seems to be no end in sight (particularly if you  live in the USA). But we’re creative beings and we’ll get through this.

To this end, together with my wonderful community on Instagram, I’ve compiled a list of quarantine hacks to keep us all going. We’ve got this! 

HYDRATION HACKS

Our bodies are made up of 70% water - not coffee and alcohol, which are tempting during an apocalypse.  But you’ve all heard about the many benefits of staying hydrated, including regulating our moods, immune system, circulation and more! Here are a few of my hydration hacks:

Plant Nanny App
I’ve been using this app since March 15th when we first started distancing, and it’s kept me accountable to my daily hydration goals. It’s like gamification and container gardening had a baby. Right up my alley!  Get the App

Flavor your water with Essential oils
Even though I was using the Plant Nanny app, I got so bored with plain water. Then it occurred to me, I have a whole selection of safe-to-drink essential oils I could use to flavor my water! I’ve put together a list of safe oils to use here - feel free to pick one or two of these or all six depending on your needs and wants..

PRODUCTIVITY HACK

Pomodoro App
If you’re like me you get easily distracted by text messages, the urge to check Instagram, and emails. If you’re hell bent on meeting a deadline, reaching your goals, and staying focused on what matters most, this app is a gamechanger. It’s a timer that uses “The Pomodoro Technique” where you focus on a task for 25 minutes (you can change this to 30 minutes or whatever), followed by a 5 minute break. During the breaks I do pushups at my desk, rock some squats, do a few yoga poses, or fill my water bottle - and then it’s back at it. Oh, and I’m totally using it right now as I write this blog!

HOUSE CLEANING HACK

Clean with Me Podcast
I just found this podcast after feeling like I couldn’t keep up with housework and decluttering in an efficient way. I’d walk into a room and start tidying only to get distracted and then leave with the job unfinished. That was until I started listening to The Clean with Me Podcast. Now I put on one of Raani’s episodes in my headphones and she literally talks me through cleaning, tidying, and putting stuff away until the job is done, and it’s the best thing EVER.

SANITY HACKS

  1. Get outside for a walk every day (and bring your mask) no matter how heavy things feel.

  2. Practice yoga with the Glo.com App.

  3. Throw on your favorite music and have yourself a dance party - go at it hard.

  4. Make Golden Milk lattes (made from turmeric and plant based milk).

  5. Grow a veggie and flower garden - it’s a literal godsend and will sequester carbon, help feed precious pollinators like honey bees, butterflies and hummingbirds - and feed you.

  6. Update your house plants.

  7. Mutter “what the fuck?” freely throughout the day.

  8. Stick to a daily routine.

  9. Give yourself permission to have a 2 or 3 hour call with a friend or family member!

  10. At the end of each day, reflect on something you accomplished - even the small things. Celebrate that tiny victory and you’ll train your mind to create even more goodness in your life.

CIVIC ENGAGEMENT HACKS (for AMERICANS)

You might be home a lot more than usual, but you can still kick some civic butt! Helping to get out the vote for the November general election is the most noble thing you could do right now - with lives on the line, and our planet earth hanging by a thread - we need every single American citizen to vote - and to vote with precision and awareness, as attempts are being made to suppress the vote. 

  1. Register to vote and check your registration regularly until the deadline to register.

  2. Request an absentee ballot ASAP (unless you live in a state like Colorado that mails all their ballots) and be prepared to fill it out as soon as it arrives so you can either 1. Hand deliver it to a proper ballot collection box or 2. Send it back immediately to make it through the mail by November 3rd in case there are post office delays.

  3. If you must show up at the polls, request a paper ballot. Digital voting can be hacked!

  4. Call or text 3 family members or friends and ask them to complete steps 1 & 2. Then remind them to vote when the time comes.

  5. Support the US Post Office! The US Post Office could be out of money by September because the Trump administration blocked its funding and fired its top officials. People, especially in rural areas, rely on the PO for food and medicine deliveries, and we all rely on the PO for safe and secure elections. So…

    1. Shop for stamps and shipping materials

    2. Call your representatives to demand oversight and investigation into the defunding and mass firing of PO officials - I recommend using ResistBot.

  6. Sign up to be a poll worker - Poll workers are typically older and will likely be sitting it out during the pandemic so we need folks who can step up to fill this role and help safeguard our electoral process ensuring that every voter in every community has a voice! Sign up now.

It seems we’ll be hunkered down for the long haul, so I hope this list is of benefit!  Please leave a comment and share your quarantine hacks with our community!

Stay well and stay healthy!

Comment

Restorative Yoga Pose for Heart Opening

2 Comments

Restorative Yoga Pose for Heart Opening

If you’re alive right now, it’s likely been a challenge to manage your nervous system. Living through a pandemic, uprising in the streets, and the climate crisis is a lot.

Let’s be real.

Restorative yoga and other relaxation practices are a must right now if we want to show up in the world at 100% to make a difference.

This restorative heart opener will help calm your nervous system while counteracting slouched posture.

It may also help with depression and leave you with an added boost of energy...

The only contraindication for this pose is Glaucoma.

Props needed: 4 blankets

Amy-2560.jpg

Step 1:

From a blanket folded in fours, fold open edge 1/3 of the way in.

Amy-2561.jpg

Step 2:

Take 1/3 of the 1/3 and begin rolling tightly into a burrito shape.

Amy-2562.jpg

Step 3:

Repeat the burrito making process three times.

Amy-2559.jpg

Step 4:

Stack the three burritos in a row and push them together tightly.

Amy-2571.jpg

Step 5:

Lay back over the blankets with the back of your shoulders off the floor or just grazing the floor, bend your knees and plant your feet with toes turned in and knees touching, arms overhead in a diamond shape. Slightly tuck your chin to aid in calming the mind.

In the pose
As best you can, let yourself become still, quiet your environment, cover yourself to stay warm if needed, and cover your eyes with a lightweight eye pillow or hand towel to create darkness. Stay here for 10-20 minutes.

Modifications
If the backbend feels uncomfortable, decrease the intensity of the backbend, rather than give up on the pose. You can stack two blankets (folded 4x) on top of each other for a thinner support to build yourself up to the burrito rolls eventually.

Give the pose a try and let me know how it goes in the comments!

Model: Tiffany Bush, 90 Monkeys student and yoga teacher on Gaia.com

2 Comments

Climate Victory Gardens in the Time of Covid

Comment

Climate Victory Gardens in the Time of Covid

Did you know that during the pandemic, seed sales have been going through the roof?

And that organic food sales were up 30% for the month of March?

And it’s no wonder - during stay at home orders we are much more in touch with our dependency on the food supply chain.

We’re minimizing our trips to the grocery store, and when we get there, many of the shelves are bare.

Add to that, many are short on cash, have more time on their hands, and are spending more time at home.

Your deck, balcony, or little plot of land outside is beckoning: “Plant and grow your own food!”

Backyard gardens are nothing new. During World War II, a huge global marketing campaign was launched among the US and our global allies for “Victory Gardens” to be planted by civilians, to support the troops and cut food costs.

victorygarden.jpg

Many families’ elders had long-abandoned gardens “out back”, and were happy to replant them for the war effort.

Some gardens were located at private homes and others could be found in public parks, vacant lots, baseball diamonds, patios, and even window boxes!

20 million Americans stepped up and did their part to grow food.

By the end of the war, Victory Gardens had us growing 45% of our entire food source in our backyards.

And now? Sadly we are down to .01% of food being produced by backyard gardens.

51kVVAmUhHL._AC_.jpg

By 1946, many people stopped victory gardening when supplies increased and the invention of the “supermarket” appeared.

Because of our social structure and obsession with building wealth, we have divorced ourselves from the relationship with our own food. This strikes me as a tragic devolution!

But what if we used this time to turn that around and plant gardens again?

Particularly when you consider that not only do gardens give us food sovereignty and superior nutrition, but when the soil is managed regeneratively, gardens can help sequester carbon, thus solving the climate crisis!

I have dreamed of planting my own regenerative organic garden since we moved into where we live nearly four years ago.

I’ve given every possible excuse for not making it happen:

  • Non-stop travels

  • Limited time and busyness

  • The hungry herd of deer that will surely decimate whatever I plant

  • The hassle of figuring out proper fencing for the deer with the winds up here

But now I find myself at home and I’m sick of the excuses.

So I’m doing it.

I’m planting a Climate Victory Garden and partnering in this effort to get more families building gardens with Rodale Institute, the folks who coined the word, “organic” in 1942!

Garden.jpg
Gardening.JPG

If you care to join me and build your own Victory Garden, how ever large or small, head over to Rodale Institute’s Victory Gardens page and sign up for their special starter kit, join the community, and get tons of resources and a giveaway!

To learn more and follow along with my garden progress, here are some action steps and resources to help you get started:

Comment

Quarantine House of Love: How to Bring Reality into Your Yoga Practice

12 Comments

Quarantine House of Love: How to Bring Reality into Your Yoga Practice

Quarantine House of Love: How to Bring Reality into Your Yoga Practice

As this deadly virus sweeps through all parts of the world, it's easy to want to retreat into a spiritual bubble of meditation, yoga, or other art form and "get away from it all."

I get that.

But that would be falling victim to something called “spiritual bypassing.”

In the yoga context, spiritual bypassing happens when we use our practice to check out or escape the reality of what the world is dishing out.

In our scramble to avoid darkness, suffering, politics, and oppression in our culture, it can be easy to make yoga into our happy place, where we don't have to feel any negativity and it's "good vibes only."

But here's the thing. You can't pray, meditate, or sweat reality away.

At best, yoga and meditation practices will let you be more present to darkness or difficulty once you get off your mat. But to declare your practice "free from bad vibes" is a bypass.

Personally, this virus has hit close to home. It has impacted students of mine, dear friends, and now my family.

And to be honest, I can't check out for them - my practice has never been more focused on feeling it all and the desire to send strength and love to those in need.

In this unparalleled time in our history, ask yourself: Do you want your yoga practice to be a way to check out and indulge your need to feel good? Do you want to absolve yourself of responsibility for what is happening in the world?

Or, do you want to check in, and stay connected to the intricate web of humanity and nature? This is not always the easy path - for there is grief, hurt, and pain, but would you be willing to grow, and be in it for all?

There are a lot of meditations and yoga classes out there that intend to help you escape the reality we are facing.

I’d love to offer you a way to have a different sort of practice, by adding a meditation and centering to the practice you are doing right now.

This centering should help make your practice a place of refuge, while at the same time tuning you in, acknowledging, and honoring your current state, those suffering, and the folks braving the front lines of this pandemic.

Here it is:

  1. Take a comfortable seat and tune in to your breath as well as any emotions you are feeling in the moment.

  2. Give yourself permission to welcome any feelings that arise.

  3. Feel your back body expand, and sense the space 12 inches behind you visualizing yourself being held by the divine.

  4. Now widen your attention toward any and all those you know and do not know who might be struggling - with the virus itself, with loss of life, loss of income, or fatigue in the case of our health workers on the front line.

  5. While staying connected to the support you feel behind you, welcome these beings into your space and offer your love, your strength, your arms, your smile, and your compassion.

  6. Visualize the world as you'd like it to be - at peace, more conscious, more awake, healthy, vibrant, radiant.

  7. Fold your palms into anjali mudra (namaste hands) and bow your head to seal this offering.

  8. As you flow on your mat, dedicate every pose as an offering to those beings, hold them in your heart, make your practice mean something to them.

I hope this is helpful to you and your practice. I’d love to hear from you how it feels and how it went in the comments!

Cover photo by Greg Brenton of Witness Content

12 Comments

Yoga Sequence For Tight Shoulders

2 Comments

Yoga Sequence For Tight Shoulders

Chances are if you own a computer or a smartphone, you battle with tight shoulders, which can sometimes lead to neck and wrist problems if not handled swiftly.

If you spend time every day at a desk or looking down at your phone, you’ll want to give yourself the gift of this little yoga sequence on the daily to help counter the effects of slouching, forward-head position (which I call “tech neck”) and tension in the shoulders and chest caused by stress.

To counteract your time at desks or on screens, I’ve put together this sequence of poses that serves as my go-to for better posture and relief!

The most important part of this practice? Feel it. Give these poses the time they deserve to open up your shoulders effectively. Just a few solid breaths in each one will do wonders!

ChildsPose.jpg

1. Child’s Pose (Balasana) Variation with Palms Face Up

You’ll want to do this on a soft surface like a rug, blanket or thick yoga sticky mat. Kneel on your mat to start. Come into a child’s pose by spreading the knees wide and bring the big toes to touch. Then slide the the hips to the heels. Place your arms alongside your body with the palms facing up.

Release the pose by gently sitting up. Stay seated on your heels (or if your knees need a break stand up) and do a few simple shoulder shrugs up and down, and some shoulder rolls backwards and forwards while breathing deeply and evenly.

Remember: If you have trouble bringing your hips all the way back, or feel any discomfort in your hips or knees, come right out and modify! It’s fine not to go all the way down, and you can even do this pose with your knees and hips at a 90 degree angle until things loosen up enough to go a little further each time.

Feel It: Stay for 5 to 10 breaths

Warrior2.jpg

2. Warrior 2 (virabhadrasana 2) with Tricep Stretch

Take a wide stance and turn your right foot out at a 90 degree angle, lining up your right heel with the center of your left arch. Bend your right knee to a square and take Warrior 2 pose. Lift your right arm up alongside your ear and bend your elbow completely until your fingers are touching your upper back.

With your left arm, reach up and place your fingers around your right elbow. Use your fingers to pull the skin of your right elbow up as you pull your elbow straight back for a juicy tricep opening. Hold this for 3-5 deep breaths and then straighten your leg to come out of the pose. Repeat this to the left.

Remember: If you have trouble balancing in this pose, do it with your back close to a wall so there is something to catch you or make you feel more confident.

Feel It: Stay for 3-5 breaths on each side.

AND/OR

Uttanasana.jpg

3. Downward Dog (Adho Mukha Svanasana) Variation With Table/Chair

For this pose you will need a table top to rest your elbows. This pose will stretch your triceps, shoulders, and upper back, and it will also stretch your hamstrings.

Stand with your feet hip distance apart, bend forward, and place your elbows on the table top with your elbows bent and finger tips touching your upper back. Keep the arm pits lightly elevated to avoid collapsing the shoulder joint while you stretch your hips back and enjoy the opening in your chest.

Remember: If you have any discomfort in your lower back or stiffness in your hamstrings, bend your knees and move your pubic bone back between your legs to increase your lumbar curve.

Feel It: Stay for 3-10 breaths.

Fold.jpg

3. Shoulder Stretch in Wide-Leg Forward Bend (Prasarita Padottanasana)

For this pose you’ll need a yoga strap, a belt, or a large towel. Come into a wide stance with your feet parallel. With you arms shoulder width apart behind your back, grab either end of the strap.

Firm your legs, and bend forward, bringing the strap with you over your head. To get the safest and best shoulder stretch keep your elbows bent softly the whole time and concentrate on squeezing your shoulder blades toward each other while pulling the heads of your arm bones back to open the front of the chest, even as you are folding forward.

Remember: If you have any discomfort in your lower back or stiffness in your hamstrings, bend your knees and move your pubic bone back between your legs to increase your lumbar curve. Try not to let your upper back round while in this pose - keep your chest open!

Feel It: Stay for 3-10 breaths.

Fish.jpg

4. Supported Fish Pose (Matsyasana)

For this pose, you’ll need two yoga blocks. Place the blocks one in front of the other at your desired height low, medium, or high. The higher you go, the deeper the stretch in the upper back. Sit in front of the blocks and lay back doing your best to line up the bottom tips of your shoulder blades on the edge of the first block.

Once your shoulder blades are anchored, continue to lay all the way back and rest your head on the second block. Make sure your chin is slightly tucked, so if it feels like your chin is cocked back, prop your head up by placing a folded towel on the block under your head. Turn your palms face up to the sky and let them rest down by your sides.

This is a restorative pose, so you can stay here from 3-15 minutes as a final relaxation that will leave you energized and counter the effects of laptop and smartphone use.

Remember: If you have any discomfort in your lower back try lowering the block height. If you feel any discomfort in the shoulders, you try elevating your elbows up on pillows (which you might want to do regardless!).

Feel It: At first it might feel like the blocks are an imposition, protruding into your back. However, after a minute or so it should start to feel more natural and delightful. Wait for it! And of course come out of the pose if any discomfort persists.

Please leave a comment below on how this practice feels for you and share any strategies for counteracting tech neck that have worked for you!

2 Comments

Gut Friendly Comfort Food Appetizers that will Please Any Crowd!

Comment

Gut Friendly Comfort Food Appetizers that will Please Any Crowd!

I’m all for snacking on appetizers, but there’s nothing worse than filling up on junky food that spoils your appetite, and worse, isn’t great for your gut bugs!

Here are two of my favorite comfort foods that are loaded with the pre-biotic fiber your gut microbiome will love to eat.

What is prebiotic fiber?

It’s the undigestable plant fibers that feed the probiotics (or good bacteria) living inside your large intestine. The more prebiotics your probiotics have to chow down on, the more efficiently these living bacteria will work and the healthier your gut will be!

Enjoy these two recipes at your next party or potluck and I promise you will wow your guests taste buds, and their gut bugs.

Kumquat Guacamole

If you're passionate about guac like I am, you want it fast but you might not want the hassle of preparation.

To combat this challenge I discovered the quickest, and yummiest, method of prepping this staple snack, with a twist - kumquats!

IMG_1286.jpg

Ingredients:

  • 1 avocado

  • 2 kumquats - diced finely, remove pits

  • onion powder to taste

  • garlic powder to taste

  • sea salt to taste

  • optional squeeze of lime to taste

  • cassava chips - I recommend the brand, “Artisan Tropic”

  • Optional: Hot sauce

Directions:

  1. Mash avocado into medium bowl.

  2. Add onion powder, garlic powder, salt, optional lime, and diced kumquats.

  3. Serve with cassava dipping chips.

  4. Optional: Serve with your favorite hot sauce sprinkled on top

Japanese Sweet Potato Fries

You may have noticed from my social media feed that I am smitten and completely obsessed with sweet potatoes.

But not just any sweet potato, Japanese sweet potatoes.

This variety is sweeter and more buttery than the sweet potatoes you may be used to and they just so happen to make a MEAN sweet potato fry!

This treat is sure to wow your friends and family, even hardcore sweet potato haters.

IMG_1285.JPG
FullSizeRender.jpg


Ingredients:

  • 3 large Japanese sweet potatoes - cut in strips

  • Avocado oil

  • Sea salt


Directions

1. Preheat oven to 400 degrees.

2. With a large knife french fry cut the sweet potatoes.

3. In a large bowl thoroughly coat the sweet potatoes with avocado oil.

4. Place on a large baking sheet pan and bake until the tops are golden brown and the potato is soft and cooked through - roughly 20 minutes depending on size.

5. With a spatula flip them once and return to oven for an additional 5-10 minutes, until crispy.

6. Remove from oven and toss with sea salt.

Comment

Amy Ippoliti's 2019 Yoga Holiday Gift Giving Guide

1 Comment

Amy Ippoliti's 2019 Yoga Holiday Gift Giving Guide

1.jpeg

My favorite part of the holidays by far is keeping good company, long conversations at the table, and giving meaningful gifts to friends and family!

I've compiled a list of some of my latest favorite things - including important causes to donate to - that I often gift to people in my life.

I hope it provides some ideas for this holiday season!

8.png

1 Comment

The Secret to My Skin Care Ritual Revealed

8 Comments

The Secret to My Skin Care Ritual Revealed

The number one question I get is "WHAT do you do to have such amazing skin?"

You know what it is?

I've just been super consistent with a similar 4-5 step routine morning and night since I was 30 years old using products that are so natural you could eat them.

It all started when I booked my first ever facial at one of the spas where I taught yoga.

Up until that day, I thought of facials only as something older people had done, and didn't see much merit in spending that kind of money on high-end cleansers and moisturizers.

But I was turning 30, and thought maybe it might be time to start caring about my skin, so with an open mind, I gave it a try.

The products my esthetician used were all organic, bio-dynamic, and pretty much edible.

She explained that maintaining healthy skin could be achieved through a five step process:

1. Cleanse with a cream, oil, or facial cleanser (not soap!). I now use Pangea Organics Cleanser and also their Balancing Face Oil to cleanse, as explained in the video.

2. Apply a cream exfoliator and rinse. Do this daily if specified for daily use, if not alternate days. Do this step in the evenings. I now use Pangea Organics Facial Scrub.

3. Apply a toner mist (blot into skin with fingers or a cotton pad - I use reusable pads that I can put through the wash). I now use Pangea Organics Toner.

4. Apply serum and eye cream. I now use Pangea Organics Eye Cream and Balancing Face Oil as a serum.

5. Apply moisturizer or oil with reef safe sunscreen for daytime (reapply mid day especially if you are in intense sun/altitude); apply night cream or oil before bed. I now use Pangea Organics Balancing Face Oil.

After the facial was over I was stoned for about 3 hours! Something about the nourishment, aromatherapy, and pampering made me feel ecstatic.

It left such an impression that I was ready to do whatever my esthetician told me to do to get this feeling on a daily basis.

I invested in the cleanser, the serums, the mists, the moisturizers, the masks, the eye creams - and I haven't looked back since!

In this video I go right to the sink and walk you through these steps, (minus the serum, eye cream and sunscreen).

It may seem cumbersome to hit this many steps along the way, but the results are no joke!

GET MY SKIN CARE PRODUCTS
If you’d like to invest in your skin’s health with some Pangea Organics skin care products, here is a one time code for 20% off site wide:

SKINGLOW20

PangeaOrganics2.jpg

In addition to the daily routine:

  • Exfoliate with a Clarisonic 3x per week in place of step 2. If you don't have a Clarisonic, use a facial scrub.

  • Once a week, use a detoxifying, hydrating mask after you exfoliate. Weekends are a good time to fit this in. I use Pangea Organics Matcha Face Mask.

  • Get a monthly facial if possible (let the professionals do a deep cleanse, massage, and treat your skin; a good aesthetician can also help you find the right products for your skin type).

  • Considerations for a dry climate - Run a humidifier in your bedroom while you sleep.

  • Remember, whatever you're doing to your face, you should also be doing to your neck!

  • For lip care, I find that most chapsticks and lip balms actually dry out my lips. There are only two I have found that keep me hydrated: Pangea Organics Lip Balms and Lip Tints and Alba Unpetroleum Jelly in a tube or their chapsticks - both are fantastic.

  • For your body, I highly recommend Pangea Organics Body Polish - I am pretty much obsessed with it!!

amyippoliti

So all of that is what I do for my skin externally, but healthy skin is also about what you put in your body! Below are some ways I tackle the health of my skin from the inside out.

Internal Considerations for the Skin:

Drink tons of water - use a hydration calculator online to find out how much you need.

Take Omega 3’s - I like using a vegan fish oil equivalent by Premier Labs, called DHA. As I age, this supplement has made all the difference (not just for my skin, but for my hair, nails, and my memory)! When I am not taking it, my skin looks dry and less glowing. I take a high dose, but as always, check with your health care provider as to what amount is right for you.

Consume good fats such as coconut, coconut MCT oil, avocado, plenty of extra virgin first cold pressed olive oil, avocado oil, sprouted nuts, etc.

Eat high fiber - greens, resistant pre-biotic starches like green banana, artichoke, sun chokes, tiger nuts, fennel, endive, radicchio, and fiber supplements. These will help keep your beneficial gut bugs well fed and everything moving, which is great for the skin.

Eat foods rich in live probiotics like krauts, fermented foods, and kefir to help populate your gut with the good bugs! I can’t speak more highly of Fermenting Fairy, a company out of LA famous for their one of a kind vegan coconut milk kefir. This stuff has transformed my microbiome this year - I’m over the moon about it. And they ship! Use the code AMY15 for 15% off their delicious foods!

Cut back or eliminate dairy - Many people find that dairy products negatively affect their skin, likely due to the difficulty in digesting dairy. I've been dairy free most of my life.

There you have it! What do you do to keep that beautiful glow? Comment below and let's continue to share and spread the skin care love!

8 Comments

Organic Matcha Truffle Bombs Recipe

Comment

Organic Matcha Truffle Bombs Recipe

Made with Chasen & Stone organic ceremonial matcha

Like it or not, I am one of those folks who gets hungry in between meals and prefers the grazing life vs. having three meals a day.

So when I get a craving, I look for something small but substantial.

I got creative in the kitchen and made these little flavor packed matcha bombs with my favorite organic ceremonial matcha from Chasen + Stone.

They are kind of like green tea white chocolate truffles and make a perfect little dessert too!

Their high fat content (good fats!) makes them a great choice for a snack that will hold you over till the next meal.

The best part is that you can decide how sweet you want them to be but they will still taste good even with very little sweetener added because of the naturally sweet spices of clove and cinnamon in the recipe.

Clove is also a great for its anti-microbial properties.

Ingredients:

  • 1/2 cup of coconut oil - melted

  • 1/4 cup coconut manna - melted

  • 1/3 cup Sunbutter (sunflower seed butter)

  • 1/2 cup cashew butter

  • 1/3 cup pecans

  • Pinch of sea salt

  • 1 tsp matcha (I used Chasen + Stone organic ceremonial)

  • Sweetener of choice to taste (I used coconut sugar)

  • 1/4 tsp cinnamon - option to add more to taste

  • 1/4 tsp clove - option to add more to taste

Yields: roughly 45 bombs depending on the size of your molds

ketobombs-7844.jpg


Instructions:

  1. Heat coconut oil, coconut mana, and sea salt in a pot and stir on low heat until liquified and salt is dissolved, remove from heat.

  2. Add coconut oil, coconut manna, and salt mixture to bowl with nut butters, cinnamon, clove, matcha, and sweetener.

  3. Stir until no clumps remain.

  4. Add pecans and stir again.

  5. Transfer mixture to a measuring cup and portion into molds, being mindful to stir the mixture every now and then between pours so ingredients don’t all settle at the bottom for the final molds!

  6. Put molds in freezer for 15-30 minutes until solid.

  7. Remove from freezer, pop out molds, and put in a sealed container.

  8. Store in the freezer or fridge.

ketobombs-7847.jpg

Comment

I Banned Headstand for Life...Until I Didn't

8 Comments

I Banned Headstand for Life...Until I Didn't

Standing on my head?

Yeah - I hung out far more on my head than on my feet as a child.

Yoga only normalized my obsession with being upside down on my noggin! I mean, salamba sirsasana is known as the King of Yoga Poses because of its exhaustive list of health benefits.

I spent most of my early years on the yoga mat on my head - ten minute timings, headstand drop overs, endless tick-tocks, surfing gravity from headstand to various arm balances, and of course mandalasana, where you walk (or jog!) around your head in both directions.

About 7 or 8 years ago I started cycling more frequently, and developed some neck issues which I cleared up by refitting my bike. In that process I had gotten an x-ray to make sure everything was okay.

The x-ray revealed degenerative discs in C5 and C6. I was devastated.

Highway to Headstand 2.png

When I saw the diminished size of my discs, all I could think of was the compression I might have caused by standing on my head all those years. I surmised that the "head forward" posture I'd adopted from using a smart phone and computer could not have helped either.

Right then and there I made a decision to stop standing on my head forever and dropped the pose from my practice.

In yoga trainings, I would still teach headstand, but gave all sorts of disclaimers about how the game had changed in the modern world and now you need to be extra cautious with how technology has impacted our cervical spines. I told them about my discs. I gave everyone ample encouragement not to practice the pose.

But then in January of 2017, all of that changed with a phone call from Glo.

Glo had been getting a lot of requests from members asking for classes on headstand. Since I was such a stickler for alignment they thought I'd be the perfect teacher to create a headstand program and would I do it?

Of course I was like, "Nope. Thanks for the invitation, but I don't do headstands. I wouldn't be able to demonstrate."

Glo prodded a little - was there any way I'd reconsider? Would it be in the realm of possibility for me to try headstand again?

After 7 years of not doing it, I thought to myself. "No way."

But then it all came flashing back to me -- I had made that decision on my own with no professional input.

Had I made up a story about my neck? Maybe I should go see one of Boulder's top physical therapists and revisit the topic?

I told Glo I would think about it and get back to them and promptly made an appointment.

At the appointment, I told my PT about my C5 and C6, explained my decision from 7 years earlier, and my current dilemma.

The first question he asked was, "when you got the x-ray, did you have any pain or problems in headstand?"

"No," I replied, feeling a little silly.

Longus_colli.png

He then went on to tell me about a muscle called the longus colli that sits on the anterior surface of the vertebral column, between the atlas and the third thoracic vertebra. He said that when we stand on our heads, that muscle switches on and actually stabilizes your C5 and C6.

"Oh, wow," I said, feeling increasingly even sillier, since that is exactly what my C5 and C6 had needed my whole life!

I immediately knew I had indeed made up a story, created a belief based on my x-ray, and that trying to stand on my head again was probably a good idea.

We agreed he'd do some body work on my neck and shoulders and then we could give headstand a try in the exercise room if I felt comfortable.

Sure enough I stood on my head while he observed my neck with a watchful eye. As soon as I was up, he said "your neck looks perfect, just pull your throat back a little".

I felt fine. And when I came down, I still felt fine.

Highway to Headstand 1.png

For a week or so I kept practicing headstand until I got the confidence to tell Glo yes, I will do it. And the rest is history!

Not only did I film the program, but I have been practicing headstand and many variations of headstand ever since and my neck has never felt better.

And so I am thrilled to share with you my latest program on Glo, Highway to Headstand - I hope you enjoy it and it gives you the courage to try this inversion!

Perhaps it might also inspire you to let go of any stories you've told yourself about what is possible...

8 Comments

Recipe: Black Elderberry Sorbet

Comment

Recipe: Black Elderberry Sorbet

Let’s face it, it may be June, but cold season isn’t over! If you’re feeling a spring cold coming on or want to fight the crud going around, I’ve got the perfect refreshing treat to boost your system!

For centuries Black Elderberries have been recognized for supporting the immune system. What I love about Black Elderberry Syrup from Gaia Herbs is that it’s made with organic whole food ingredients and contains organic Acerola Cherry fruit extract, a delicious and rich source of naturally occurring Vitamin C!

Join me in the kitchen this week for a delicious, organic, whole food treat everyone will enjoy during this season!

elderberryrecipe2-7008.jpg

Ingredients

Yields: 4 servings

  • 1 /4 bottle Gaia Herbs Elderberry Syrup

  • 1.5 Cups Frozen Strawberries

  • 1.5 Cups Ice

  • Fruit Garnish (I used organic blackberries)

  • Water (as needed for blending)

  • Optional: 1T of honey to sweeten

Steps:

  1. In a blender add the Gaia Herbs elderberry syrup, frozen strawberries, and ice.

  2. Blend until all frozen pieces are gone, adding water as necessary.

  3. Careful not to overblend, you're looking for the consistency of sorbet!

  4. Divide into cups, add your fruit garnish, and enjoy!

elderberry-7024.jpg

Comment

Restorative Yoga: The Remedy for A Non-Stop World

4 Comments

Restorative Yoga: The Remedy for A Non-Stop World

In this day and age, most of us have grown unaccustomed to tranquility and have trouble being still. This is particularly true if you were born after 1980, since you would have spent more of your formative years exposed to the Internet. 

Many of us have become so busy that we barely talk on the phone anymore. We are in constant multi-task mode—eating lunch while scrolling through our phones, listening to podcasts while taking a shower, or texting while walking across the street.

Things have become so fast-paced that we may actually confuse busyness with meaning!

In contrast to our current information age, humans dwelled for centuries in quietude, sowing the fields, walking through the forests, working with their hands. In fact, in many rural areas of the world, this slower pace of life is still quite common.

The aim of Restorative yoga is to cultivate the silence and stillness we’ve been missing and to make choices in our life that bring us greater ease. In fact, much of the work of Restorative yoga is less about trying to find ease and more about putting an end to the habits that hinder ease in our lives. 

_Things have become so fast-paced that we may actually confuse busyness with meaning!_ (1).png

Restorative yoga is largely based on the teachings of B.K.S. Iyengar and was innovated upon and popularized internationally over the past three decades by his disciple Judith Hanson Lasater, PhD.

Judith defines Restorative yoga as “the use of props to support the body in positions of ease and comfort to facilitate relaxation and health.” 

I’ve been fortunate to study with Judith over the years and glean the healing benefits of her teaching. Restorative yoga has been a huge support to my immune system, sleep, skin, overall stress levels, and yes, my asana practice! It has also been a total blessing to share this knowledge with my students and witness how their lives have been enhanced by rest.

COMMON MISCONCEPTIONS ABOUT RESTORATIVE YOGA

Restorative yoga is often characterized as a complement to an active asana practice or mistaken as Yin yoga. Although complementary to an active lifestyle, Restorative yoga is a practice in its own right and is suitable for people of any age, at any level of yoga, and in all states of health.

Misconception: Restorative yoga is the same as Yin Yoga.

Truth: Yin Yoga focuses on gently stretching connective tissues, while Restorative yoga uses props to open the body.

Misconception: Restorative yoga is stretching.

Truth: Although the body benefits from a gentle lengthening in restorative postures, Restorative yoga is about opening the body.

Misconception: Restorative yoga is a chance to catch up on sleep.

Truth: Restorative yoga focuses on the rest and relaxation of the body, which is a different physiological state than sleep.

Misconception: Restorative Yoga is the same as Therapeutic Yoga.

Truth: Restorative yoga can be very therapeutic, however it is more oriented around rest and relaxation than specifically healing injury

Misconception: Restorative yoga is for people who can’t do yoga.

Truth: Restorative yoga is for everybody.

GLO_9220.jpg

Now you can study Restorative yoga with me on GLO in my latest program! It's called The Ultimate Restorative and offers a full immersion into the deep relaxation that’s possible with the right combination of props.

I'm sharing the key principles of Restorative yoga plus the precise positioning that will give your body the ultimate support. The best part? You’ll get a rare opportunity to rest during your waking hours, elevating your mood and mitigating the effects of stress on your mind, body, and spirit.

WHO IS THIS PROGRAM FOR

  1. Advanced yogis or teachers looking for fundamental poses and set ups of restorative poses

  2. Anyone looking for the ultimate relaxation and replenishment!

  3. Anyone who loves the use of props and wants to know how to add more of them to their practice

  4. Anyone who is in need of support or stability during a stressful time of their life

  5. Teachers looking to add more restorative to their repertoire

Grab your props and I’ll see you on the mat!


4 Comments

Love Up Your Pearly Whites: Oil Pulling Tooth Butter Cups

6 Comments

Love Up Your Pearly Whites: Oil Pulling Tooth Butter Cups

Oil pulling.

I know. It’s so trendy.

And surely you have more important things to do than swishing coconut oil in your mouth in the morning.

You know. Like making a living or changing the world, but hear me out.

Self care. It’s vital.

You’ve probably heard about the importance of a healthy microbiome and how eating certain probiotic foods can populate your gut with beneficial microbes.

The maintenance of an ecologically diverse microbiome makes way for a powerful immune system, radical health, and you guessed it — it’s also the key to oral health.

The mouth is a microbial menagerie and like your gut, it has good microbes and bad microbes. Ideally we keep the good guys, and squash the bad guys.

Oil pulling, also known as "kavala" or "gundusha," is an Ayurvedic oral hygiene technique where you swish a tablespoon of coconut or sesame oil in your mouth on an empty stomach for around 20 minutes.

The oil supposedly pulls out toxins, but what is more interesting to me is what you can add to the oil to help build up healthy, bustling bacteria and promote diverse flora in the mouth.

The aromatic compounds of essential oils such as peppermint, frankincense, cinnamon, clove, tea tree, myrrh and, more can act as microbiome regenerators with antiseptic properties.

You can also add probiotics for a similar effect, baking soda for alkalizing the mouth, and activated charcoal - effective in absorbing plaque and other compounds that stain teeth.

After dorking out on all this information, I got inspired and put together a recipe for convenient coconut “tooth butter cups” you can store in your fridge and pop in your mouth first thing for oral swishing.

They are jam packed with a variety of essential oils, baking soda, and activated charcoal - all the toothy goodness!

I made them before bed and was so excited to wake up and use them for the first time that I woke up a whole 90 minutes earlier than usual before the sun. And I was not disappointed…

My mouth has never felt so fresh, clean, or alive!

Here is the recipe:

Probiotic Coconut Oil Charcoal Tooth Butter Cups

Ingredients:

  • 1 silicone candy mold (15 molds)

  • 60ml coconut, MCT, or sesame oil, liquified.

  • 1 capsule probiotics

  • 1 tablespoon baking soda

  • 2 capsules activated charcoal (vegan - from coconut shells)

  • 15 drops of each essential oil:
    Peppermint
    Cinnamon
    Clove
    Tea tree
    Myrrh
    Frankincense

Go heavier on peppermint and cinnamon for flavor ;)


Instructions:

  1. Mix all the ingredients in a bowl and then pour even amounts into the candy mold.

  2. Place in the fridge or freezer to solidify.

  3. When solid, pop the butter cups into a glass jar and store in the fridge for your next oil pulling moment.

Makes 15 butter cups.

To oil pull safely: Place butter cup in mouth and let it dissolve into liquid, combining with your saliva. Swish the liquid around in your mouth for 20 minutes. Do not swallow. After 20 minutes, spit the oil into your trash can or outdoors rather than down the sink where it can harden again and mess with your plumbing!

Screen Shot 2019-03-20 at 9.13.04 PM.png

6 Comments

Lift Your Practice: Yoga With Resistance

3 Comments

Lift Your Practice: Yoga With Resistance


You may not know this about me but for the last 10 years I’ve been incorporating resistance training into my movement routine.

Not only has strength training been a game changer for my body, it has has been a huge asset to my yoga practice.

At first it helped me clear a shoulder injury and stretch my hamstrings with more ease.

Now, the upper back work I’ve been doing at the gym is helping me hold chatturanga forever - it’s not tiring at all! It never felt like that, even in my 20s.

I used to think that yoga was all I needed to have a fit, strong, and flexible body. In fact many of my peers and teachers promoted yoga as "the be-all, end-all" for exercise.

It’s easy to believe that yoga will do everything for your body when you are young, a time when maintaining muscle mass and flexible joints is naturally a lot easier. But get to age 40, and it’s a different story.

GLO_2073.jpeg

Some said doing things like lifting weights was “unyogic”. I think this view is a little short sighted -- after all, good yoga helps us discern what is best for our bodies! And what is best for our bodies is best for a sustainable yoga practice.

We all experience resistance every day, and we can either use it to shy away from life, or lean into it to help us become stronger and more capable.

This month, I am super excited to share some of the movement work I've been doing as part of my overall well-being in my newest program on Glo: Lift Your Practice: Yoga with Resistance! 

Full disclosure: When Glo asked me to do a program like this, at first I was hesitant. I definitely didn't want it to teach a "Yoga-Sculpt" combo type of thing (no offense to yoga sculptors - I just like keeping my art forms separate!).

But then I realized -- when I go to the gym for my workouts I always interject yoga poses and stretches in between sets and reps!  So I decided, why not just share what I do??

In this program I give you a window into how I alternate resistance work with yoga flow in order to boost physical strength and enhance the efficiency and longevity of a yoga practice.

All you need is a set of light weights, a resistance band and a sticky mat, and you're ready to go!

A THANK YOU…to my trainer of ten years, Jason Busch of Body Balance Fitness in Boulder, CO for so much of the inspiration behind this program!

Leave a comment below if you have had success with adding resistance training to your movement repertoire and tell us what it did for you!

3 Comments

What Kind of Yoga is This?

1 Comment

What Kind of Yoga is This?

"Oh, you're a yoga teacher. What kind of yoga do you teach?"

I get asked that a lot.

My yoga doesn't really have a name, nor is it any one thing -- it's hard to put into words something that is more than just physical.

To give the short answer I usually say that I teach an "alignment based flow".

But if they really wanted to sit and chat for a while, I'd tell them more:

At 90 Monkeys, our school, we teach a yoga that embraces three values:

• Longevity & Alignment

• Integrity in Community

• Life Affirming Philosophy

Our yoga focuses on good form to support longevity and sustainability in the body over time. Through intelligent alignment principles, sound biomechanics, and a workable understanding of anatomy, it offers a deep, efficacious practice to enhance the physical aspects of embodiment.

We value the power of community - one that is inclusive, honest, warm, and kind. We cherish collective support and seek to live with accountability for our energy and actions. We strive to be responsible for the earth and it's inhabitants and as such, value coming together in person (not just online!).

We start all endeavors saying yes to life -- receiving what the world presents us. We wish for humanity to love their life and appreciate the miracle of being alive. We enjoy having fun, value lineage, and believe living a conscious and skillful life is the secret to deep fulfillment.


This January we will be immersing into the worlds of this yoga path in our first ever - weekend format - 200 Hour Teacher Training in Boulder, CO.
Learn more and join us!

1 Comment

Yoga Goals: Reinvent Your Wheel Pose

10 Comments

Yoga Goals: Reinvent Your Wheel Pose

YOGA GOALS: REINVENT YOUR WHEEL

When I was a girl I spent a lot of time upside down in wheel pose. It was natural, painless, and took no effort.

In practice as an adult, we would do relays, racing each other through the studio — and we had conversations while doing timed one-minute holds!

Being able to get into wheel pose became a key to my well being emotionally as well as physically. It just puts me in a more uplifted mood. And lord knows we need a little reprise and sunshine right now.

But then, after spending two years working with a shoulder impingement (not from yoga) I had to lay off my wheel obsession for a while and abstain.

When my shoulder finally got better, my wheels felt totally horrendous! My body was so tight, I could not even talk while holding the pose and couldn’t wait to come down.

The good news? The extreme tightness definitely gave me insight into what it might feel like for those who have always had a hard time with wheel for whatever reason. We all have our assets, and back bending may not be one of yours - you’re still a good person!

Feeling this tight in wheel for me was unusual, but it got me thinking — through my own struggles in getting back to a comfortable wheel — about how I could open my body back up gradually so it could get closer to that pose.

And so I’ve been teaching a practice specifically designed to work toward wheel pose, opening the chest, the triceps, and the fronts of the hips along the way.

My goal for all yoga enthusiasts is to be able to do wheel pose…and still be able to talk.

Why is this important? Why set it as a goal?

Wheel is one of yoga's quintessential back bends. It provides a gateway to other advanced back bends, but more importantly, even if you never get there, the prep work has amazing benefits on its own!

Whether you take this pose to its full expression, or continue to build a solid foundation, you will stand a little taller, feel a little freer, and move about the world with a more open heart.

More Benefits of Wheel Pose:

  • Better posture

  • Longevity in your spine

  • Spinal health

  • Uplifted mood

  • Generous heart

Preparation to Work Toward Wheel
Here are just a few of the kind of stretches and poses you’ll want to focus on in your practice to get closer to wheel pose.

Stretch the Triceps

You can incorporate a tricep stretch in a standing pose like Warrior 2.

You can incorporate a tricep stretch in a standing pose like Warrior 2.

Open the Chest

Cobra with your hands elevated on blocks is takes part of the weight off your arms so your shoulders and chest can open more easily.

Cobra with your hands elevated on blocks is takes part of the weight off your arms so your shoulders and chest can open more easily.

Open the Hip Flexors

Poses that open the quads and hip flexors should be practiced almost daily if you want to have a wheel pose that doesn’t feel gripped with tightness!

Poses that open the quads and hip flexors should be practiced almost daily if you want to have a wheel pose that doesn’t feel gripped with tightness!

If you’re curious about pursuing wheel pose and the poses that will open your body up in the process, you might be interested in my program on Glo.com: Reinvent Your Wheel!

This is a workshop-style program and will help you gradually work towards full wheel, using complimentary poses, props and modifications along the way. There are just three thirty minute classes that progress in level from 1/2 to 2 and you can choose to move forward at your own pace, repeating any of the practices as needed.

Overall I hope that you’re feeling more positive about working toward wheel pose! Leave a comment with your progress!.

10 Comments

So You Want to Be A Better Person and Change the World? Do These Two Things Now!

6 Comments

So You Want to Be A Better Person and Change the World? Do These Two Things Now!

Is it just me, or do you feel angry or helpless about the fractured political climate of America?

Whether it’s CNN’s reporters being heckled by those encouraged to hate our free press, Nia Wilson’s senseless murder, or asylum seeking children torn from their parents and put in detention centers - the worst of humanity is rearing its ugly head.

In the face of this polarization and hatred, I’ve concluded that as yogis we have two actions of recourse:

1. Be a Model Human  - Be a Bit More Like Shiva

One of the main goals of a yoga practice is to understand ourselves and work on who we are through self inquiry so that we can give back in a more profound way to the world.

But how do we do this in the face of hatred and continual bad news that won’t stop? We can withdraw and put our heads in the sand, or we can face it all head on.

The teachings from the Hindu deity, Shiva might help.

Shiva is a whole lot of things.

Notably, Shiva is the lord of toxins. Because, well, he is everything and he is consciousness itself.

His connectivity to every possible outcome is his ferocity - Shiva as Bhairava. He shrinks from nothing, and is unafraid to imbibe the poison of the world and hold it in his throat so as not to assimilate it.

He engages everything.
He is utterly himself.
And he doesn’t give a damn what anyone thinks of him.

We’ve all experienced strong emotions or challenges that we want to run from.

Shiva enters our yoga practice when we do the things that push our buttons and look to challenging experiences with the question:

“Who am I in this?”

This is the easiest question to ignore when our experience is provocative, scary, or unpleasant.

When you ignore this question, you let your emotions rule you instead of being sovereign to your emotions.

And when your emotions run you, you're likely to act less like a model human, and more  arrogant and entitled - i.e. someone that people don't particularly want to be around.

Think about the asanas or poses that challenge you -- like arm balances or backbends. If you avoid them or don’t check in on your resistances around them, you won’t progress in your practice.

Emotions are similar and must be engaged. For example, anger can cause stress, acting out, or even violence - but those things are not the anger itself - those things are you on autopilot when your anger has gone unchecked.

Being a model human in the face of challenge and emotions means choosing to become your emotions fully. Then you can decide what to do about them and how to respond.

Shiva is present when you let yourself have your experiences completely and then choose the best course of action. Now instead of running amok, your emotions can compel, forgive, heal, shift, or inspire.

I’ve never regretted acting from a place of self-awareness in my emotions, and I’ve never regretted apologizing for being irritable or un-thoughtful to those around me when I’ve miss-stepped.

2. Vote

Modeling the best of human behavior in ourselves is one thing we can do individually to respond to divisiveness, but ultimately change has to come from the top.

Electing conscious policy and law makers is crucial to impacting change for the environment, for social equality, and peace in our communities and around the world.

In addition to checking ourselves and not succumbing to hatred and division, we’ve got to VOTE.

Four thoughts on this:

  1. Register to VOTE if you have not yet done so.
  2. Consistently check that your registration stays current all the way until the deadline to register - word is that people are being pulled from the voter rolls even if they were registered.
  3. Encourage other people to vote by joining organizing campaigns like Swing Left , Black Women Vote, and MoveOn.Org. Help drive people to the polls if you have to.
  4. The current administration is doing nothing to stop Russian hacking into our system, so we need to show up in such record-breaking numbers that no amount of meddling can make an impact.

Take these two actions and I guarantee you'll feel better about the state of the world and how you can make a difference toward the people around you.

What are you doing to stay conscious, kind, and aware in these intense times? Leave a comment below!


6 Comments